A small orange date in the corner does more for nostalgia than any filter. It is also easy to get wrong: a crisp modern font slapped on top gives the game away. Here is how the real thing worked.
Where the date stamp came from
Film point-and-shoots in the 1980s and 1990s had "date backs" that exposed the date onto the negative with tiny lights, which is why the digits glow orange. Many digital compacts kept the idea as a "date imprint" setting that burned the date into the JPEG. Both are part of the look people now call Y2K.
The formats
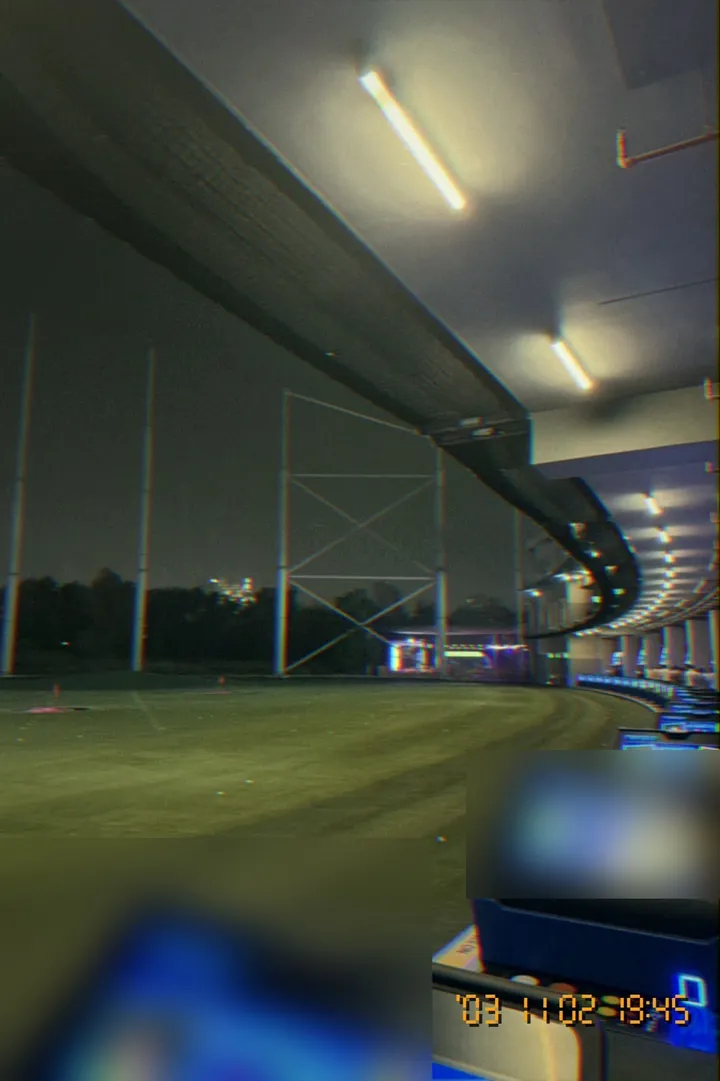
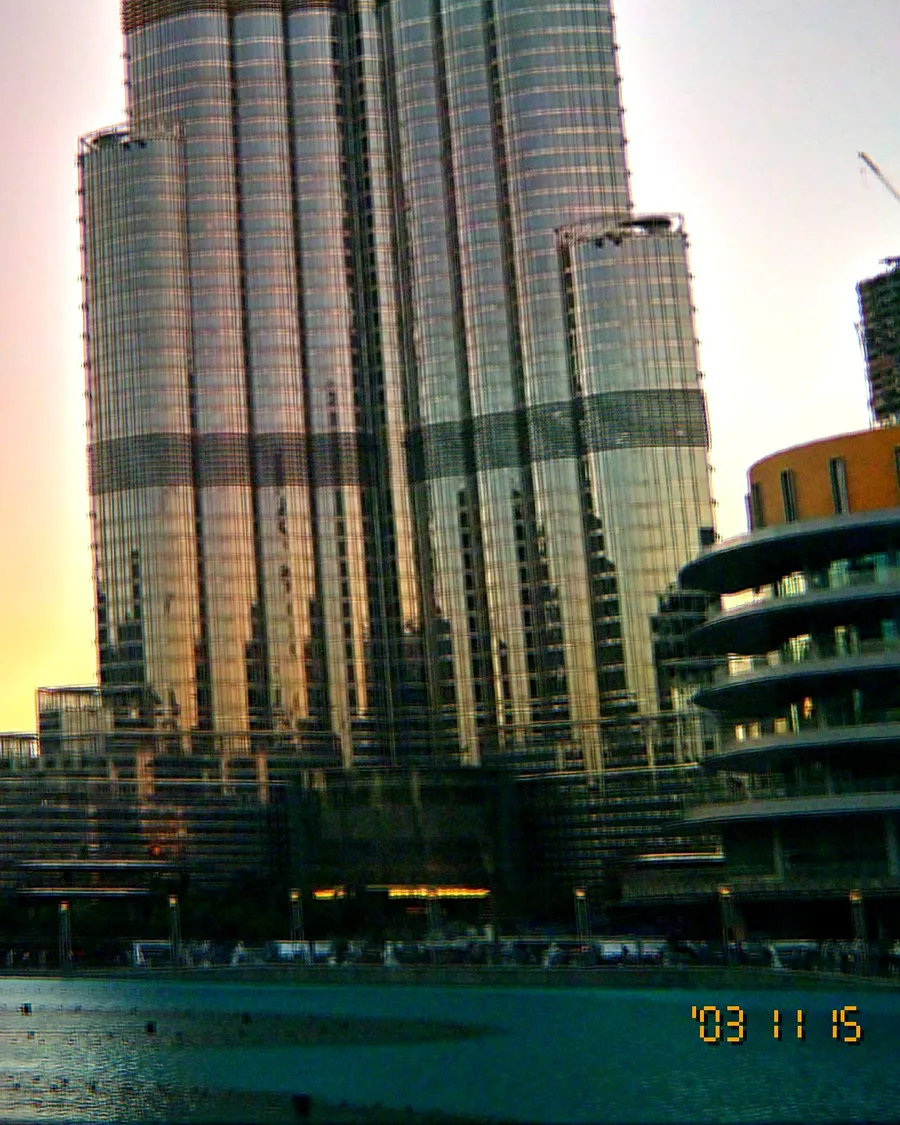
The most recognisable format is an apostrophe and a two-digit year followed by month and day, like '03 11 15. Cameras sold in different regions also used day-month-year and month-day-year orders. The digits were usually a seven-segment or dot style, the same kind used on alarm clocks.
What makes a date stamp look real
- Amber-orange, slightly glowing, never pure white or neon yellow.
- Bottom-right corner, small and close to the edge.
- Part of the photo, not floating on top: softened by the same compression and noise as the image.
- Readable but imperfect: on bright areas it almost disappears, which is authentic.
Burn it in while you shoot
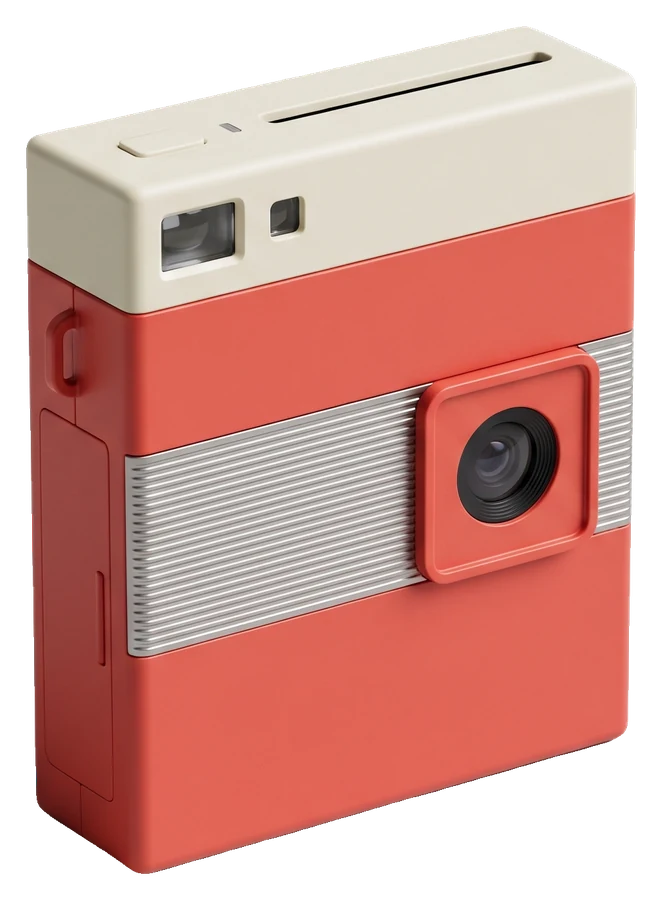
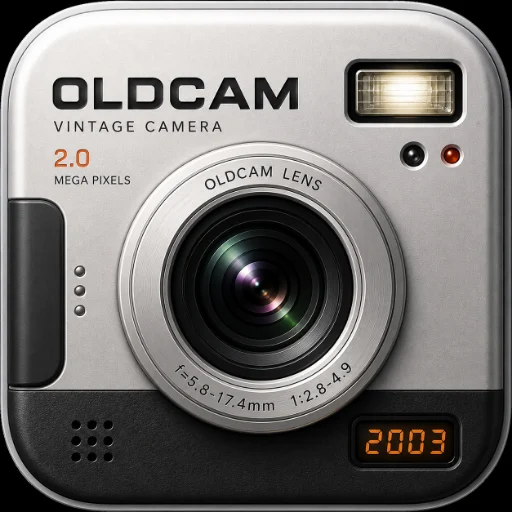
In OldCam, tap DATE to switch the amber date stamp on or off. It is burned into the photo as it is processed, so it carries the same grain and compression as the rest of the picture. The year follows the look you shoot with, such as '03 for The Original, alongside today's month and day. (Instant cameras skip the date, like real instant film.)
Tips
- Leave space in the bottom-right of your framing so the date does not land on a face.
- Darker corners make the stamp glow more.
- Keep it on for a whole photo dump: consistency sells the era.